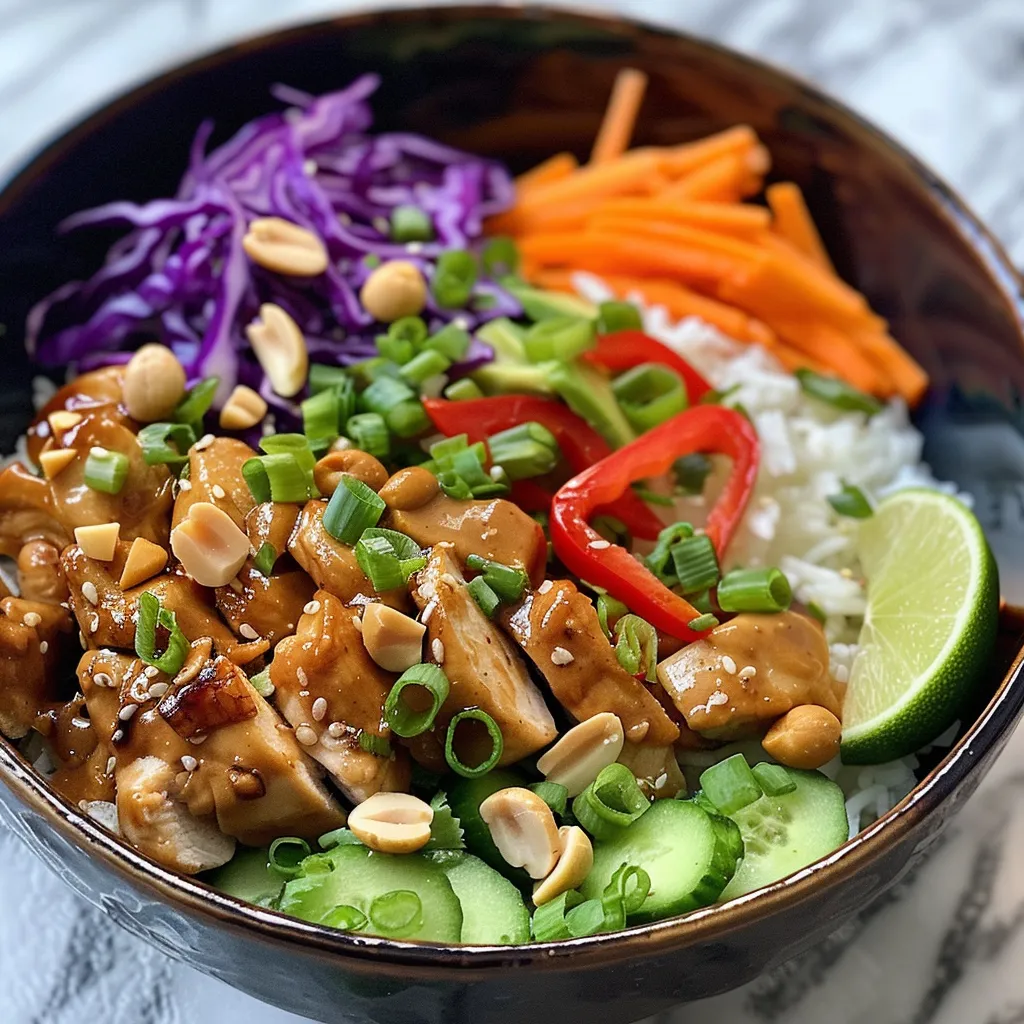
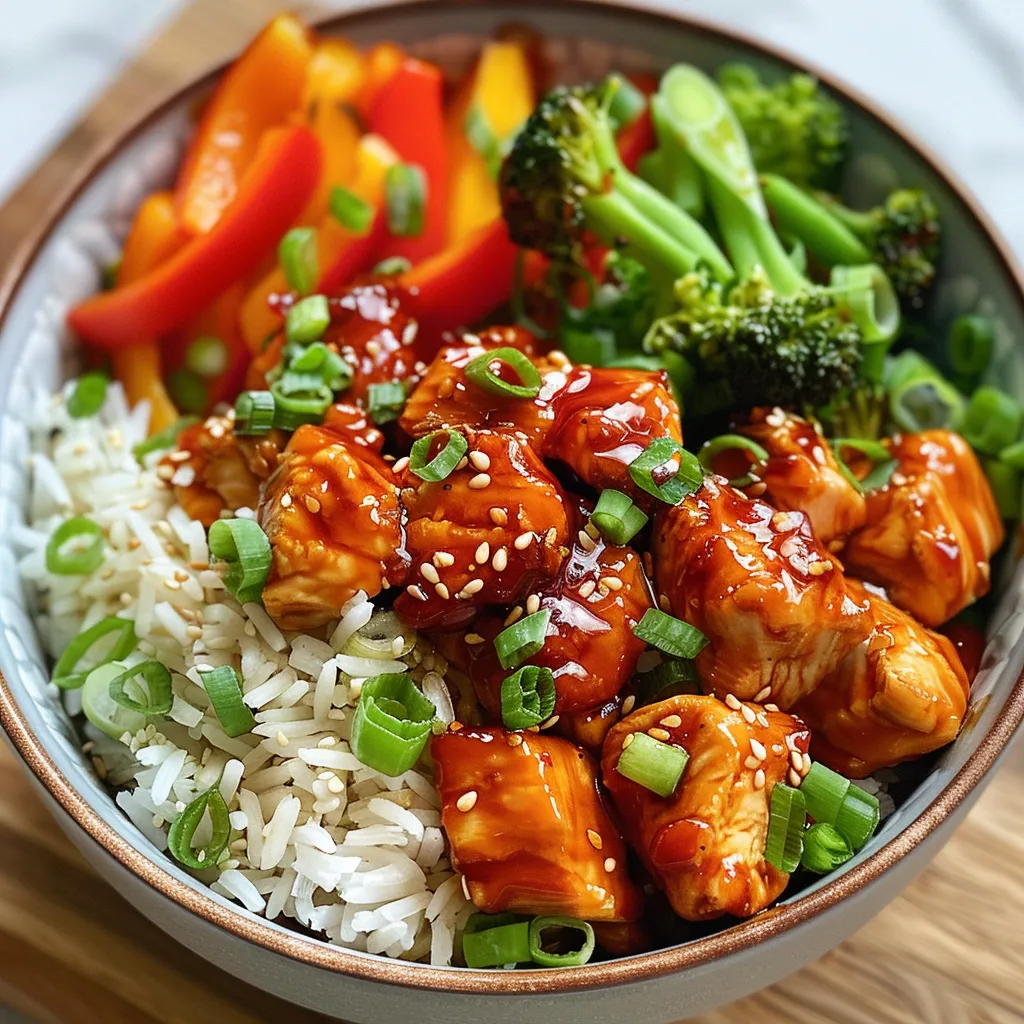
Discover the Vibrant World of Honey Lime Chicken Burrito Bowls
Welcome to a culinary adventure that’s as colorful as it is delicious! If you’re searching for a meal that’s not only quick to prepare but also packed with flavor, your quest ends here. Our Honey Lime Chicken Burrito Bowls are bursting with zesty lime, tender chicken, and fresh veggies, making them the perfect addition to your weeknight dinner rotation. This recipe is designed to be your new dinner hero, offering a delightful mix of textures and tastes that will keep your taste buds dancing. Get ready to impress yourself and your family with a dish that’s as fun to make as it is to eat!
Why You’ll Love This Recipe
These Honey Lime Chicken Burrito Bowls are not just a meal; they’re a celebration of flavor! Here are just a few reasons to love this recipe:
- Quick and Easy: Ready in 45 minutes, this recipe fits perfectly into even the busiest schedules.
- Flavor Explosion: The combination of honey and lime creates a unique taste that’s sweet, zesty, and utterly irresistible.
- Meal Prep Friendly: Make a big batch for lunches throughout the week—just store in airtight containers!
- Customizable: With endless topping options, you can easily personalize each bowl to suit your taste.
- Healthy and Nutritious: Packed with protein, fresh veggies, and whole grains, these bowls are as nourishing as they are delicious.
Ingredient Breakdown
Let’s dive into the key ingredients that make this dish shine, along with some smart substitutions you can use:
- Chicken: 1 ½ pounds boneless skinless chicken breasts. For a richer flavor, consider using chicken thighs.
- Honey: ¼ cup. Opt for local, organic honey for the best taste.
- Lime Juice: ¼ cup freshly squeezed (about 2 limes). Fresh is always best for that vibrant zing!
- Lime Zest: 1 tablespoon to enhance the citrus flavor—don’t skip this!
- Olive Oil: 3 tablespoons for marinating and grilling. You can substitute with avocado oil if desired.
- Garlic: 2 cloves, minced. For a milder flavor, use roasted garlic.
- Spices: Chili powder, cumin, smoked paprika, salt, and black pepper. Feel free to adjust to your spice preference!
- Rice: 1 cup uncooked jasmine rice. Swap for quinoa or cauliflower rice for a low-carb option.
- Vegetables: 2 bell peppers (1 red, 1 yellow), sliced. You can also use zucchini or corn for variation.
- Beans: 1 cup canned black beans, drained. Great source of fiber and protein!
- Avocado: 1, sliced. For a creamy texture, add more or use guacamole.
- Cilantro: ½ cup, chopped. If you’re not a fan, try parsley or omit it.
- Lettuce: ½ cup shredded romaine for crunch.
- Sour Cream or Greek Yogurt: ¼ cup (optional). Adds creaminess—alternatives include cashew cream or a dairy-free yogurt.
- Lime Wedges: For serving, they add an extra burst of freshness!
How to Make Your Honey Lime Chicken Burrito Bowls

Follow these simple steps to create a flavorful masterpiece:
- Marinate the Chicken: In a bowl, whisk together honey, lime juice, lime zest, olive oil, garlic, chili powder, cumin, paprika, salt, and pepper. Add the chicken and marinate for at least 30 minutes (or up to 8 hours for deeper flavor).
- Cook the Rice: Rinse the rice under cold water. Combine it with 2 cups of water and a pinch of salt in a saucepan. Bring to a boil, then reduce heat to low, cover, and simmer for 15 minutes. Let it rest for 5 minutes before fluffing with a fork.
- Grill the Chicken: Heat a grill pan over medium-high heat. Grill the marinated chicken for 5–6 minutes on each side until the internal temperature reaches 165°F (74°C). Let it rest for 5 minutes, then slice.
- Grill the Vegetables: Toss bell peppers with 1 tablespoon olive oil and grill for 4–5 minutes until charred and tender.
- Assemble the Bowls: Divide cooked rice evenly among four bowls (about ¾ cup per bowl). Top with sliced chicken, grilled peppers, black beans, avocado, lettuce, and cilantro.
- Finish and Serve: Add a squeeze of fresh lime juice and top with sour cream or Greek yogurt if desired. Enjoy warm or chilled!
Pro Tips for the Perfect Honey Lime Chicken Burrito Bowls
Want to take your burrito bowls to the next level? Check out these expert tips:
- Marination Magic: Marinate your chicken for up to 8 hours for maximum flavor absorption.
- Grill Marks: For the best grill marks, make sure your grill pan is hot before adding the chicken.
- Texture Matters: Let grilled veggies cool slightly before adding them to the bowls to maintain their texture.
- Layering Flavors: Start with rice, then add toppings in layers for a beautiful presentation.
- Make-ahead Meals: Prepare the chicken and rice in advance—store them separately until serving.
- Freshness Factor: Always use fresh lime juice and zest for the brightest flavor.
- Customize Your Toppings: Don’t be afraid to mix and match toppings like corn, cheese, or different types of beans!
- Leftover Love: Use leftover chicken in wraps or salads for a quick next-day meal.
Common Mistakes and Troubleshooting
Here’s how to avoid common pitfalls:
- Under-marination: Skipping marination or not marinating long enough can lead to bland chicken. Aim for at least 30 minutes.
- Overcooked Rice: Monitor your rice closely to prevent it from becoming mushy. Fluff it gently with a fork after resting.
- Poorly Grilled Chicken: Ensure your grill is preheated to avoid sticking. If using a non-stick pan, that’s even better!
- Too Much Lime: If the lime flavor is too strong, balance it out with more honey or avocado.
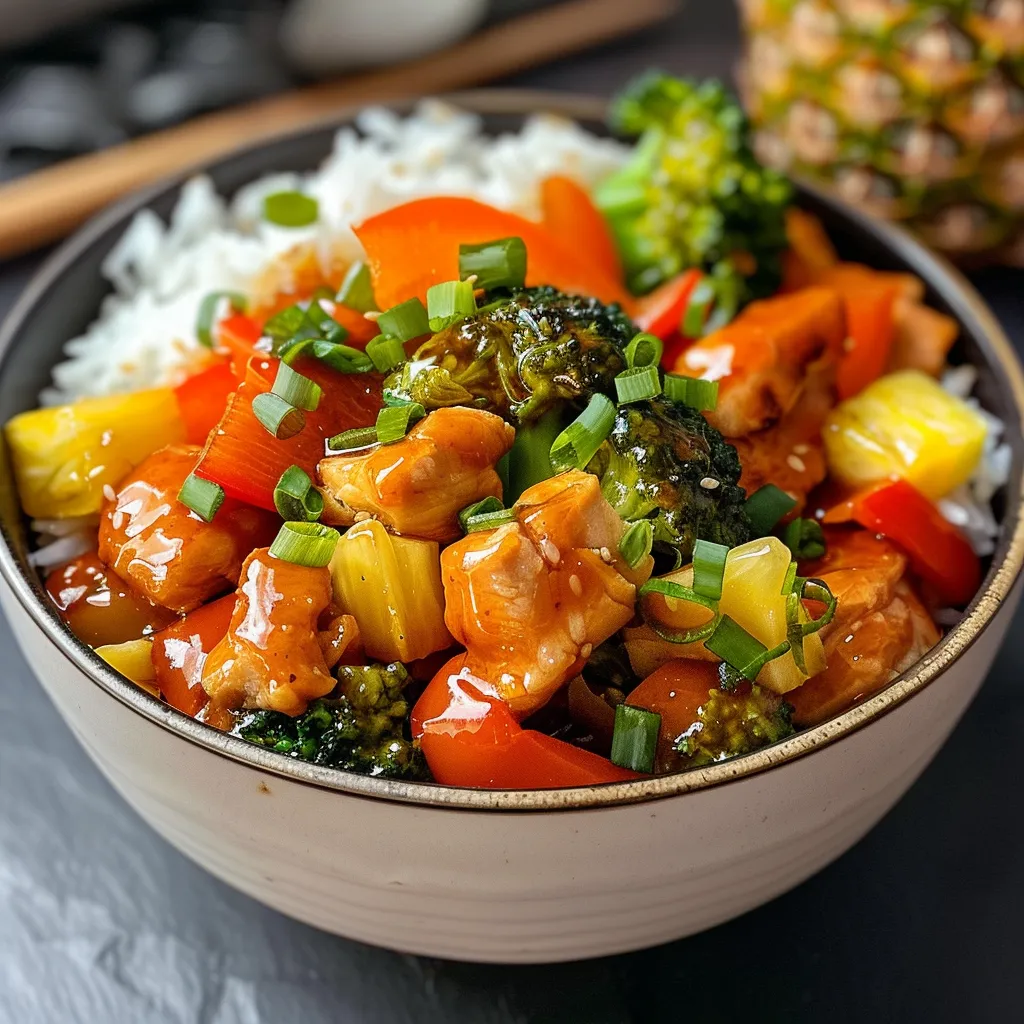
Delicious Variations
Feeling adventurous? Try these fun twists on the classic burrito bowl:
- Spicy Kick: Add jalapeños or a drizzle of hot sauce for heat.
- Southwestern Style: Use corn, black olives, and avocado for a southwestern flair.
- Italian Fusion: Swap the honey and lime for balsamic vinegar and Italian herbs for a unique twist.
- Veggie Delight: Replace chicken with grilled tofu or tempeh for a plant-based version.
Storage and Make-ahead Instructions
These burrito bowls are perfect for meal prep! Here’s how to store them:
- Refrigeration: Store chicken, rice, and veggies in airtight containers for up to 4 days.
- Freezing: You can freeze marinated chicken for up to 3 months. Just thaw before grilling!
- Assembly: Store toppings separately to keep them fresh and crunchy.
Comprehensive FAQ
Got questions? We’ve got answers!
- Can I use frozen chicken? Yes, just ensure it’s completely thawed before marinating.
- How can I make this dish spicier? Add red pepper flakes to the marinade or top with fresh jalapeños.
- What can I substitute for honey? Maple syrup or agave syrup works well as a substitute.
- Is this recipe gluten-free? Yes, just ensure all ingredients used are certified gluten-free.
- Can I prepare these bowls in advance? Absolutely! Just store ingredients separately to maintain freshness.
- What type of rice should I use? Jasmine rice is preferred, but brown rice or quinoa are great alternatives.
- How do I reheat leftovers? Microwave for 1-2 minutes, or sauté in a pan until heated through.
- Can I add other vegetables? Definitely! Feel free to include zucchini, corn, or spinach.
Nutritional Tips and Dietary Adaptations
This recipe is not only delicious but also nutritious! Here are some tips for dietary adaptations:
- Low-Carb Option: Substitute rice with cauliflower rice for a lower-carb meal.
- Dairy-Free: Use plant-based yogurt instead of sour cream for a creamy touch.
- Higher Protein: Add chickpeas or extra beans to boost protein content.
Essential Equipment Recommendations
Before you start cooking, here are some tools that will make the process easier:
- Grill Pan: A good-quality grill pan is essential for those perfect grill marks.
- Mixing Bowls: Use various sizes for marinating and mixing ingredients.
- Rice Cooker: Perfect for getting fluffy rice without the fuss.
- Meat Thermometer: Ensure your chicken is cooked perfectly every time.
Serving Suggestions
To elevate your Honey Lime Chicken Burrito Bowls, consider these serving ideas:
- Extra Lime: Serve with lime wedges for an extra burst of citrus flavor.
- Chips on the Side: Serve with tortilla chips or homemade salsa for crunch.
- Fresh Herbs: Garnish with additional cilantro or green onions for freshness.
In conclusion, the Honey Lime Chicken Burrito Bowls are your new go-to recipe for a quick, nutritious, and flavorful meal. Perfect for busy weeknights or meal prepping, this dish is sure to become a family favorite. Dive in, have fun, and enjoy every delicious bite!
Honey Lime Chicken Burrito Bowls
Ingredients
Protein
- 1.5 pounds boneless skinless chicken breasts
- 0.25 cup honey
- 0.25 cup freshly squeezed lime juice ((about 2 limes))
- 1 tablespoon lime zest
- 3 tablespoons olive oil
- 2 cloves garlic, minced
- 1 teaspoon chili powder
- 0.5 teaspoon cumin
- 0.5 teaspoon smoked paprika
- 0.5 teaspoon salt
- 0.25 teaspoon black pepper
- 1 cup uncooked jasmine rice
Vegetables
- 2 bell peppers bell peppers (1 red, 1 yellow), sliced
- 1 cup canned black beans, drained
- 1 avocado avocado, sliced
- 0.5 cup fresh cilantro, chopped
- 0.5 cup shredded romaine lettuce
- 0.25 cup sour cream or Greek yogurt ((optional))
For serving
- as needed Lime wedges
Instructions
- Whisk honey, lime juice, lime zest, olive oil, garlic, chili powder, cumin, paprika, salt, and pepper. Marinate chicken for 30 minutes.
- Cook rice in boiling water with a pinch of salt for 15 minutes, then rest and fluff.
- Grill marinated chicken 5–6 minutes per side until cooked through, then rest and slice.
- Grill bell peppers with 1 tablespoon olive oil for 4–5 minutes until charred and tender.
- Assemble bowls with rice, sliced chicken, peppers, black beans, avocado, lettuce, cilantro, and a squeeze of lime. Top with sour cream if desired.