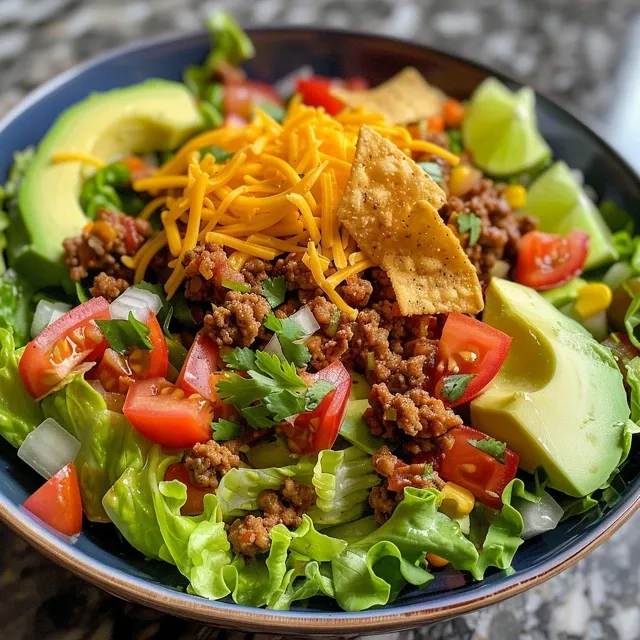
Welcome to the World of Nourishing Warm Quinoa Salad!
Are you ready to dive into a delicious, healthy adventure? This warm quinoa salad is not just a meal; it’s a vibrant celebration of flavors, colors, and nutrients that will make your taste buds dance! Perfect for a quick lunch or a cozy dinner, this recipe comes together in just 25 minutes, making it your go-to dish when you crave something nourishing and satisfying. Let’s explore why this salad is your new best friend and how you can whip it up in no time!
Why You’ll Love This Recipe
Here are five compelling reasons to make this warm quinoa salad a staple in your kitchen:
- Quick and easy: Ready in under 30 minutes, it’s the perfect solution for your busy days when time is of the essence, but you still want something wholesome.
- Nourishing goodness: Packed with protein, fiber, and healthy fats, this salad keeps you full and focused throughout the day.
- Versatile ingredients: Customize with whatever veggies you have on hand, adding grilled chicken or chickpeas for that extra protein punch!
- Flavor explosion: The combination of fresh veggies, olive oil, and lemon juice creates a vibrant flavor profile that makes every bite a delight.
- Visual feast: Bursting with colors from fresh ingredients, this dish not only tastes amazing but looks stunning on your plate!
Ingredients for Your Nourishing Warm Quinoa Salad
Before we get cooking, let’s gather our ingredients. Here’s what you’ll need:
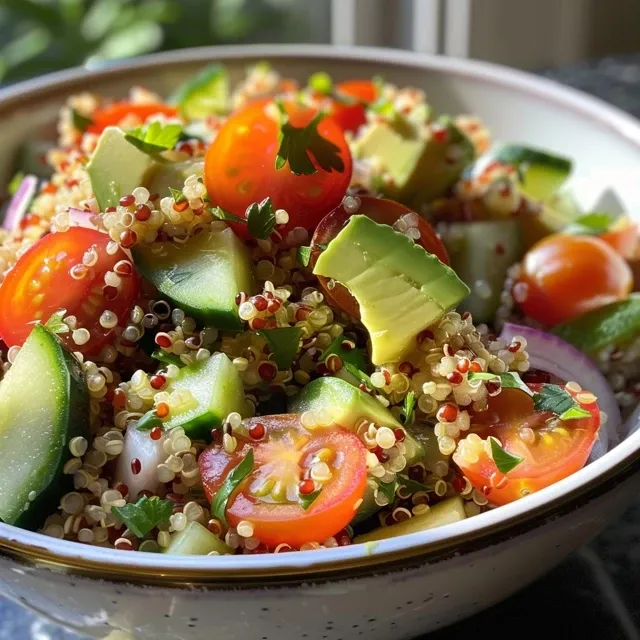
- 1 cup quinoa, rinsed
- 2 cups water or vegetable broth
- 1 cup cherry tomatoes, halved
- 1 cucumber, diced
- 1 avocado, sliced
- 1/4 cup red onion, finely chopped
- 1/4 cup fresh parsley, chopped
- 1/4 cup feta cheese (optional)
- 2 tbsp olive oil
- 1 tbsp lemon juice
- Salt and pepper to taste
How to Make Your Warm Quinoa Salad
Ready to get your cook on? Follow these simple steps:
- Rinse quinoa under cold water and drain. This step is essential to remove any bitterness.
- Cook quinoa in water or vegetable broth according to package instructions, then let it cool slightly.
- In a large bowl, combine cooked quinoa, cherry tomatoes, cucumber, avocado, red onion, and parsley.
- Drizzle with olive oil and lemon juice, then toss gently to combine all the flavors.
- Season with salt and pepper to taste.
- Top with feta cheese if desired and serve warm. Enjoy your creation!
Pro Tips for Perfect Quinoa Salad
Want to elevate your salad game? Here are some expert tips:
- Rinse well: Always rinse quinoa before cooking to ensure it’s fluffy and free from bitterness.
- Flavor boost: Use vegetable broth instead of water for a more flavorful base.
- Make it your own: Feel free to add in your favorite vegetables or proteins—this salad is super customizable!
- Chill for flavor: Let the salad sit for a few minutes after mixing to allow the flavors to meld beautifully.
- Perfect portions: This recipe serves 2-4, but you can easily double it for meal prep or a gathering!
- Fresh is best: Use the freshest ingredients you can find for the best flavor and nutrition.
- Experiment with herbs: Try adding fresh basil or mint for a different flavor profile.
- Check your seasoning: Taste before serving; a little more salt or lemon can elevate the dish!
Common Mistakes and Troubleshooting
Even the most seasoned cooks can make errors. Here’s how to avoid common pitfalls:
- Overcooking quinoa: Ensure you follow cooking times carefully; overcooked quinoa can become mushy.
- Not rinsing: Skipping the rinse can lead to a bitter taste.
- Too much dressing: Start with a little olive oil and lemon juice, adding more as needed to avoid sogginess.
- Ignoring texture: Mix ingredients gently; you want to keep the avocado and tomatoes intact for that delightful texture.
Variations to Spice Things Up!
Want to switch things up? Here are some fun variations to try:
- Spicy Southwest Quinoa Salad: Add black beans, corn, and a hint of lime for a south-of-the-border twist.
- Mediterranean Delight: Incorporate olives, sun-dried tomatoes, and a splash of balsamic vinegar.
- Asian Inspired: Toss in edamame, shredded carrots, and sesame dressing for an Asian flair.
- Breakfast Bowl: Top with a poached egg for a hearty breakfast option!
Storage and Make-Ahead Instructions
Planning ahead? Here’s how to store and reheat your quinoa salad:
- Refrigeration: Store leftovers in an airtight container in the fridge for up to 3 days.
- Make-ahead: You can prepare the quinoa and chop the veggies a day in advance—just mix before serving.
- Freezing: While not ideal for all ingredients, cooked quinoa can be frozen for up to 2 months. Just thaw and add fresh toppings when ready to eat.
Frequently Asked Questions
Got questions? We’ve got answers! Here are some common inquiries about this warm quinoa salad:
- Can I use other grains? Absolutely! Try farro, bulgur, or brown rice for a different grain experience.
- Is this salad vegan? Yes, simply omit the feta cheese for a fully vegan dish.
- What can I substitute for quinoa? Look for other protein-rich grains like quinoa or amaranth.
- How can I add more protein? Consider adding grilled chicken, chickpeas, or tofu for a protein boost.
- Can I make this salad ahead of time? Yes! Just keep the dressing separate until ready to serve.
- What if I don’t like avocado? Feel free to replace it with diced bell pepper or a handful of nuts for crunch!
- How do I make it gluten-free? Quinoa is naturally gluten-free, and all other ingredients in this recipe are as well!
- Can I add fruit? Yes! Fruits like diced apples or pomegranate seeds can add a sweet touch.
Nutritional Tips and Dietary Adaptations
This salad isn’t just about taste; it’s also about nutrition! Here’s how to adapt it for various dietary needs:
- Low-carb option: Swap quinoa for cauliflower rice or spiralized zucchini.
- Keto-friendly: Use olive oil, nuts, and low-carb veggies like spinach and zucchini.
- High-protein: Add protein-rich toppings like grilled shrimp, chicken, or tofu.
Essential Equipment for Success
To make your cooking journey a breeze, here’s what you’ll need:
- Medium saucepan: For cooking your quinoa perfectly.
- Cutting board and knife: Essential for prepping your fresh veggies.
- Mixing bowl: A large bowl for combining all your delicious ingredients.
- Measuring cups and spoons: To ensure you get the quantities just right!
Serving Suggestions
Ready to serve? Here are some fun ideas:
- On a bed of greens: Serve this salad on a bed of leafy greens for an extra crunch!
- In a wrap: Use it as a filling in whole-grain wraps for a portable lunch option.
- As a side dish: Pair it with grilled meats or fish for a delightful meal.
Conclusion
This warm quinoa salad is not just a dish; it’s a celebration of health, flavor, and creativity in the kitchen. Whether you’re looking for a quick lunch or a hearty dinner, this recipe has you covered. Remember, the kitchen is your playground—don’t hesitate to experiment and make this salad your own. Happy cooking, and enjoy every colorful bite!
Warm Quinoa Salad: A 25-Minute Heartfelt Self-Care Lunch
Ingredients
Main
- 1 cup quinoa, rinsed
- 2 cups water or vegetable broth
- 1 cup cherry tomatoes, halved
- 1 cucumber diced cucumber
- 1 avocado sliced avocado
- 1/4 cup red onion, finely chopped
- 1/4 cup fresh parsley, chopped
- 1/4 cup feta cheese (optional)
- 2 tbsp olive oil
- 1 tbsp lemon juice
- to taste Salt and pepper
Instructions
- Rinse quinoa and cook in water or broth, then let cool slightly.
- Combine cooked quinoa with cherry tomatoes, cucumber, avocado, red onion, and parsley in a large bowl.
- Drizzle with olive oil and lemon juice, then toss gently.
- Season with salt and pepper to taste.
- Top with feta cheese if desired and serve warm.