
Unlock the Magic of Pear Hand Pies
If you’re looking to elevate your dessert game with something that is not only delightful but also incredibly satisfying, then you’ve stumbled upon the right recipe! These pear hand pies are bursting with the sweet flavors of ripe pears, complemented by warm spices and enveloped in a golden, flaky crust. Imagine biting into one of these treasures and experiencing the perfect balance of flavor and texture. Let’s dive into this culinary adventure and learn how to create these scrumptious treats!
Why You’ll Love This Recipe
These pear hand pies are not just a treat for your taste buds; they come with a plethora of benefits that make them a must-try:
- Simple Ingredients: Made with everyday staples, including ripe pears and pantry basics.
- Customizable Flavors: You can easily adjust the spices and fillings according to your preferences.
- Perfect for Any Occasion: Whether it’s a family gathering, holiday party, or just a sweet snack, these pies fit right in!
- Make-Ahead Friendly: Prepare them in advance and freeze for later use, ensuring you always have a delicious treat at hand.
- Kid-Friendly Fun: Involve the little ones in the cooking process; they’ll love shaping and filling their own hand pies!
Ingredients You’ll Need
Gather your ingredients for this delightful pastry. Here’s what you’ll need:

★ Recommended Kitchen Tool
Cake Decorating Set
Make this recipe even easier with a quality Cake Decorating Set — a must-have kitchen staple!
- 1 double pie crust: Store-bought or homemade, whichever you prefer.
- 1/2 cup white sugar: For that perfect sweetness.
- 3 tablespoons all-purpose flour: Helps thicken the filling.
- 1/4 teaspoon salt: Enhances the flavors.
- 1 teaspoon ground cinnamon: Adds warmth and depth.
- 1 teaspoon lemon zest: Brightens the flavor.
- 5 cups peeled and diced ripe pears: The star of the show!
- 1 tablespoon butter: For richness.
- 1 tablespoon lemon juice: Keeps the pears fresh and flavorful.
- 1 egg: For egg wash to achieve that golden crust.
Feel free to make substitutions based on what you have available:
- For a healthier option: Use coconut sugar instead of white sugar.
- Gluten-free crust: Opt for a gluten-free pie crust to accommodate dietary needs.
- Spice it up: Add nutmeg or ginger for a different flavor profile.
How to Make Pear Hand Pies
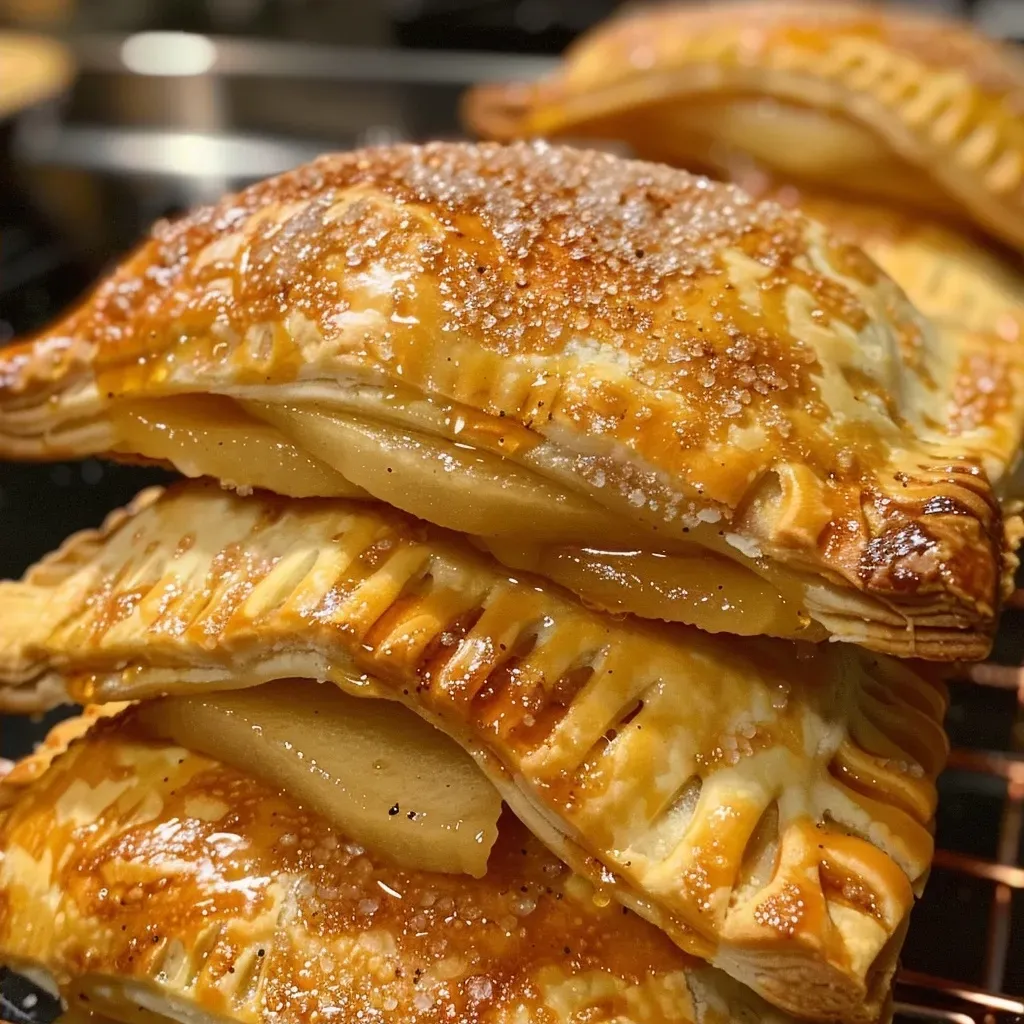
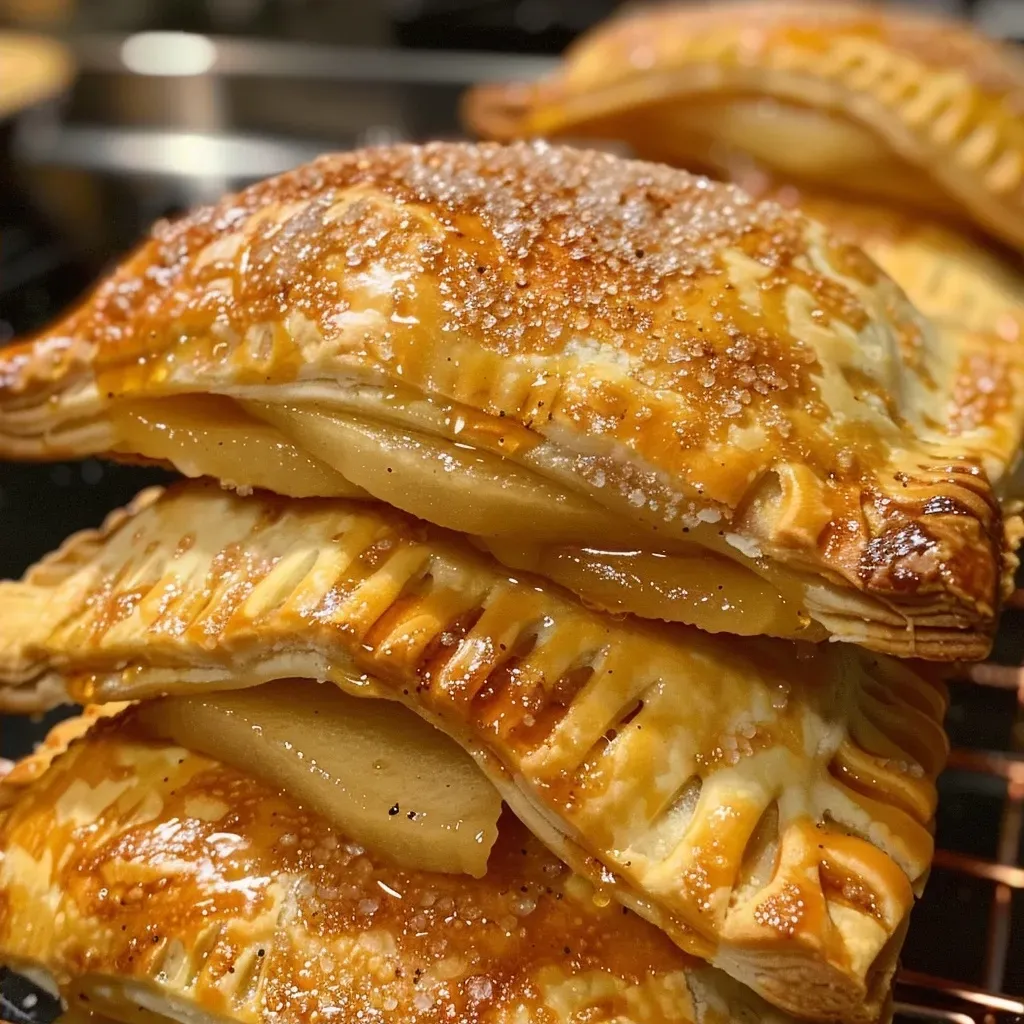
Now that you have your ingredients ready, let’s walk through the steps to crafting these delicious hand pies:
- Preheat your oven to 350°F (175°C).
- In a medium-sized bowl, combine the sugar, flour, salt, cinnamon, and lemon zest. Mix until well-combined.
- Add the diced pears to the sugar mixture, gently folding until they are well coated.
- Roll out your pie crust on a lightly floured surface.
- Using a bowl or a round cutter, cut out circles approximately 4-5 inches in diameter.
- Reroll any excess dough to create more circles.
- Place the dough circles onto a lined baking sheet.
- In the center of each circle, place a small amount of the pear filling, leaving about a 1/2 inch space around the edges.
- Dot the filling with a small amount of butter and sprinkle with a few drops of lemon juice.
- In a small bowl, beat the egg with 1 tablespoon of water to create an egg wash.
- Brush the egg wash around the edge of each circle to help seal.
- Fold the dough circle in half, enclosing the pear filling, and crimp edges with a fork to ensure a good seal.
- Brush the top of each hand pie with the egg wash.
- Slice slits on top of the pies for steam to escape, and dust with coarse sugar if desired.
- Bake for 20 minutes or until golden brown.
Expert Tips for Perfect Pear Hand Pies
To ensure your pear hand pies are nothing short of spectacular, check out these expert tips:
- Choose ripe pears: Make sure the pears are ripe for the best flavor and texture.
- Don’t overfill: Less is more! Keep the filling within the edges to avoid spillage.
- Chill the dough: If your dough gets warm, chill it in the refrigerator for a bit before rolling out.
- Test for doneness: If unsure, give one a gentle poke to check if it’s golden and flaky.
- Experiment with spices: Don’t hesitate to add a pinch of cardamom or allspice for a unique twist.
Common Mistakes and Troubleshooting
Even the best chefs can run into hurdles. Here’s how to troubleshoot common mistakes:
- Too soggy crust: Ensure the filling isn’t too wet. If using juicy pears, you may want to increase the flour slightly.
- Crust tearing: If the dough is too warm, it may tear. Keep it cool, and work quickly.
- Pies not browning: If your pies aren’t browning, increase the oven temperature by 25°F and keep a close eye on them.
Delicious Variations
Mix things up with these fun variations:
- Apple-Pear Combo: Combine pears with thinly sliced apples for added texture.
- Chocolate-Dipped: Dip the cooled pies in melted chocolate for a decadent treat.
- Nutty Delight: Add chopped pecans or walnuts to the pear filling for crunch.
- Spiced Pears: Infuse the filling with a splash of bourbon or vanilla for a gourmet touch.
Storage and Make-Ahead Instructions
Want to prepare these sweet treats in advance? Here’s how:
- Freezing before baking: Assemble the pies but don’t bake them. Freeze them on a baking sheet, then transfer to a freezer bag. Bake from frozen, adding a few extra minutes to the baking time.
- Storing baked pies: Keep baked hand pies in an airtight container at room temperature for up to 3 days. For longer storage, refrigerate.
Frequently Asked Questions
Got questions? We’ve got answers! Check out these FAQs:
- Can I use canned pears? Yes, but drain them well and reduce the sugar since canned fruits are often sweetened.
- How do I know when my pies are done? They should be golden brown and the filling bubbly.
- Can I make these gluten-free? Absolutely! Use a gluten-free pie crust for a delicious alternative.
- What’s the best way to reheat them? Reheat in the oven to keep the crust crispy.
- How do I prevent the filling from leaking? Make sure to crimp the edges well and don’t overfill the pies.
- What type of pears work best? Bosc or Anjou pears are perfect for pies due to their firmness and flavor.
- Can I add cheese to the filling? Yes! A bit of cream cheese can add a creamy texture to your filling.
- Can I use this recipe for other fruits? Definitely! You can swap the pears for apples, peaches, or berries!
Nutritional Tips and Dietary Adaptations
For those mindful of their health, here are some nutritional insights:
- Lower the sugar: Consider reducing the sugar amount or using natural sweeteners like honey or agave.
- Increase fiber: Add some chia seeds to the filling for an extra fiber boost.
- Dairy-free option: Use coconut oil instead of butter for a dairy-free version.
Essential Equipment for Success
Here’s what you’ll need to create these delightful hand pies:
- Baking sheet: A sturdy baking sheet lined with parchment paper for easy cleanup.
- Rolling pin: Essential for rolling out your pie crust.
- Round cutter: Use a bowl or a pastry cutter for uniform pie shapes.
- Mixing bowls: For combining your filling ingredients.
- Pastry brush: For applying the egg wash neatly.
Serving Suggestions
These pear hand pies can be served in a variety of delightful ways:
- With ice cream: Serve warm with a scoop of vanilla ice cream for a classic dessert.
- Drizzled with caramel: A drizzle of caramel sauce adds a sweet touch.
- With whipped cream: Lightly whipped cream complements the flavors perfectly.
Now that you’re equipped with all the knowledge and tips needed to create these delightful pear hand pies, it’s time to roll up your sleeves and get baking! Enjoy the process and savor each bite of these delicious treats—remember, the kitchen is your playground, and healthy cooking can be both fun and flavorful!
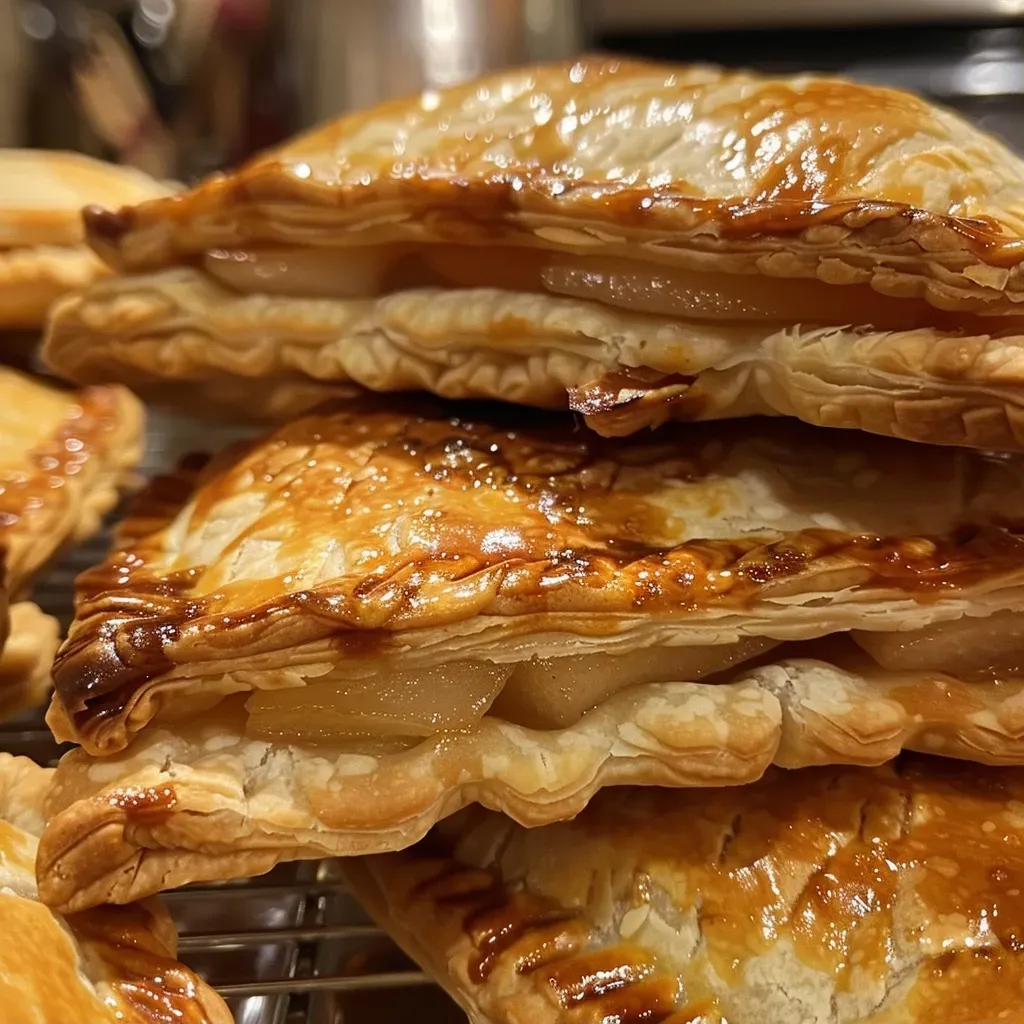
Pear Hand Pies
Ingredients
Dough
- 1 double pie crust store bought or homemade pie crust
- 1/2 cup white sugar
- 3 Tablespoons all-purpose flour
- 1/4 teaspoon salt
- 1 teaspoon ground cinnamon
- 1 teaspoon lemon zest
- 5 cups peeled and diced ripe pears
- 1 Tablespoon butter
- 1 Tablespoon lemon juice
- 1 egg egg (for egg wash)
Instructions
- Preheat oven to 350°F (175°C).
- Mix sugar, flour, salt, cinnamon, and lemon zest. Add pears, butter, and lemon juice.
- Roll out dough and cut into 4-5 inch circles. Fill with pear mixture, fold, and crimp edges.
- Brush with egg wash, cut slits, and place on baking sheet.
- Bake for 20 minutes until golden brown.