Welcome to the world of indulgence without the guilt! Get ready to dive into a **delicious adventure** with my recipe for No-Bake Brownie Bites. These bites are rich, chocolatey, and oh-so-simple to make! Packed with wholesome ingredients, they’re the perfect guilt-free snack for any time of day. Whether you’re looking for a quick treat after a long day, a healthy option for your lunch box, or a sweet addition to your next gathering, these brownie bites are here to steal the show. Let’s get started!
Why You’ll Love This Recipe
- Quick and Easy: In just 30 minutes, you can whip up a batch of these delightful treats without ever turning on the oven.
- Nutritious Ingredients: Made with wholesome components like oats and nuts, these bites are not just tasty but also packed with nutrients.
- Customizable Flavors: Get creative! You can mix in your favorite add-ins, from dried fruits to nut butters, making each batch uniquely yours.
- Perfect for Meal Prep: These bites store well in the fridge, making them an ideal option for busy weeks ahead.
- Kid-Friendly: With a rich chocolate flavor and no baking involved, they’re sure to be a hit with the little ones!
Ingredients Breakdown
Here’s what you’ll need for this delectable recipe:
- 1 cup chopped walnuts or almonds (optional): These nuts add a satisfying crunch and healthy fats. You can substitute with any nut or seed of your choice.
- 2½ cups pitted Medjool dates: They serve as a natural sweetener and binder. If your dates are dry, soak them in warm water for 10 minutes to soften.
- 1 cup unsweetened cocoa powder: This ingredient gives the bites their rich chocolate flavor. For a twist, try using carob powder instead.
- 1 cup old-fashioned rolled oats: Oats provide fiber and texture. You can use gluten-free oats if needed.
- 1 tsp vanilla extract: Vanilla enhances the overall flavor profile. Use pure vanilla extract for the best results.
- ⅛ tsp salt: A pinch of salt balances the sweetness and deepens the chocolate flavor.
- 2 tbsp milk (dairy or non-dairy): This helps adjust the mixture’s consistency. Almond, coconut, or oat milk are great substitutes.
- Toppings (optional): Shredded coconut, cocoa powder, or chopped nuts can elevate the bites’ presentation and texture.
How to Make No-Bake Brownie Bites
Ready to bring these brownie bites to life? Follow these straightforward steps:
- Step 1: Prepare your ingredients
Start by measuring out your ingredients. If your dates are dry, soak them in warm water for 10 minutes to soften, then drain well. - Step 2: Blend the base
In a food processor, combine oats and nuts (if using). Pulse until finely ground. Add in the cocoa powder, salt, and vanilla, pulsing until everything is mixed evenly. - Step 3: Add the dates
Add the softened dates into the processor and blend until a thick, sticky dough forms. You may need to scrape down the sides once or twice. - Step 4: Adjust texture
If the mixture seems too dry, add milk one tablespoon at a time. You want it to stick together when pressed between your fingers. - Step 5: Roll into bites
Using a tablespoon or small scoop, portion out the dough and roll it into balls. The warmth of your hands helps form the perfect shape. - Step 6: Optional coating
Roll the finished bites in cocoa powder, shredded coconut, or finely chopped nuts for added texture and flair. - Step 7: Chill
Pop them in the fridge for about 10–15 minutes to firm up. Then they’re ready to eat, pack, or share!
Pro Tips for Perfect Brownie Bites
- Measuring Dates: For best results, use packed dates when measuring. This ensures the right amount of sweetness and moisture.
- Texture Check: If the mixture is too crumbly, don’t hesitate to add a bit more milk until you reach the desired consistency.
- Flavor Boost: Consider adding a scoop of protein powder for an extra nutritional kick—perfect for post-workout snacks!
- Mix It Up: Feel free to experiment with different nut butters, such as almond or cashew, for an exciting twist.
- Serving Size: Roll smaller bites for a lower-calorie option or larger ones for a more decadent treat.
- Chilling Time: Allowing the bites to chill not only firms them up but also enhances their flavor as the ingredients meld together.
- Storage Tips: Store the bites in an airtight container in the fridge for up to a week, or freeze for longer storage.
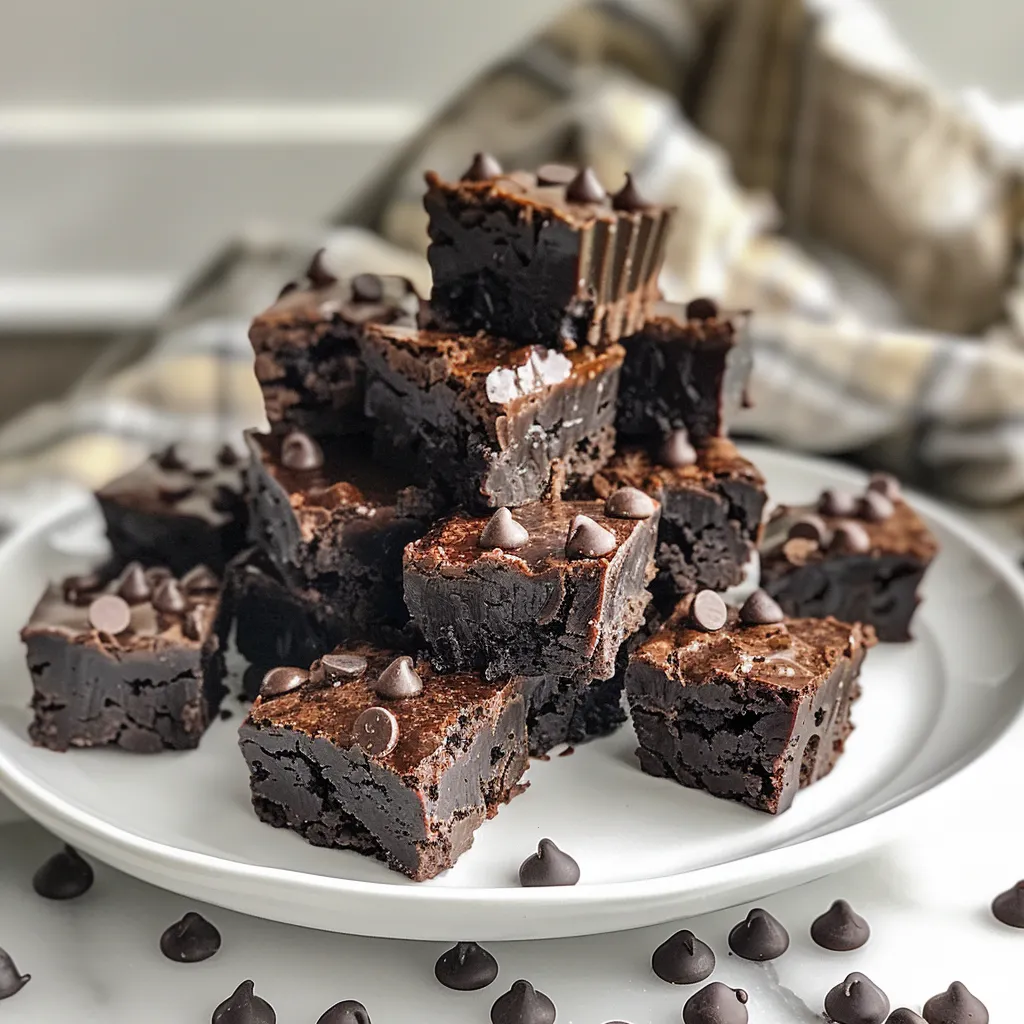
- Presentation: For a fun party treat, arrange the bites on a colorful platter and sprinkle with toppings for a visual feast!
Common Mistakes and Troubleshooting
Even the best chefs can make mistakes! Here are a few common pitfalls and how to avoid them:
- Too Dry: If your mixture crumbles when rolling, it’s likely too dry. Add a tablespoon of milk at a time until it holds together.
- Over-processing: Blending too long can create a paste instead of a dough. Stop pulsing as soon as the mixture is combined.
- Not Sweet Enough: If you find the bites lack sweetness, blend in a few more dates or a drizzle of honey or maple syrup.
- Sticking to Hands: To prevent the mixture from sticking, wet your hands slightly before rolling.
Variations to Try
Feeling adventurous? Here are some fun variations to customize your No-Bake Brownie Bites:
- Peanut Butter Bliss: Add ¼ cup of peanut butter to the mix for a creamy, nutty flavor that pairs perfectly with chocolate.
- Mint Chocolate: Stir in a few drops of peppermint extract for a refreshing twist that’s reminiscent of mint brownies.
- Berry Brownie Bites: Fold in dried raspberries or cherries for a pop of fruity flavor that contrasts beautifully with the chocolate.
- Spicy Chocolate: Incorporate a dash of cayenne or chili powder for an unexpected kick that elevates the chocolate flavor.
Storage and Make-Ahead Instructions
Want to keep these delicious bites on hand? Here’s how to store them:
- Refrigerator: Keep the bites in an airtight container in the fridge for up to a week. They make an excellent grab-and-go snack!
- Freezing: For longer storage, freeze the bites on a baking sheet first, then transfer to a freezer-safe bag or container. They can last up to 3 months!
- Defrosting: When you’re ready to enjoy, simply let them sit at room temperature for about 10-15 minutes before eating.
Frequently Asked Questions (FAQs)
- Can I use different nuts? Absolutely! Feel free to substitute with your favorite nuts or even seeds like sunflower or pumpkin.
- Are these bites gluten-free? Yes, as long as you use certified gluten-free oats, these brownie bites are gluten-free!
- How do I know when they’re ready to eat? Once chilled, they should be firm to the touch and hold their shape when rolled.
- Can I add protein powder? Yes! Adding protein powder is a great way to boost the nutritional content of your bites.
- What’s the best way to serve these? They can be served as is, or you can garnish them with extra toppings for a fun presentation.
- How long do these bites last? In the fridge, they’ll last up to a week; in the freezer, they can last up to 3 months.
- Can I use other sweeteners? Yes, you can substitute dates with maple syrup or agave nectar, but you may need to adjust the dry ingredients accordingly.
- What if I don’t have a food processor? You can use a high-powered blender, but it may take a little longer to achieve the right consistency.
Nutritional Tips and Dietary Adaptations
These brownie bites are not just tasty; they can be tailored to fit various dietary needs:
- Vegan-Friendly: This recipe is naturally vegan if you use non-dairy milk and omit any animal-based toppings.
- Protein-Packed: Adding a scoop of protein powder can help meet your fitness goals without compromising on flavor.
- Low-FODMAP: Substitute the Medjool dates with ripe banana or maple syrup in moderation for a low-FODMAP option.
- Nut-Free: Omit the nuts and add seeds for crunch or replace them with sunflower seed butter for creaminess.
Essential Equipment Recommendations
To make these No-Bake Brownie Bites, you’ll need:
- Food Processor: A sturdy food processor is essential for blending the ingredients into the perfect dough.
- Measuring Cups and Spoons: Accurate measurements ensure consistent results every time.
- Baking Sheet: Use a baking sheet to chill the bites before storing them in the fridge for easy access.
- Small Scoop: A small cookie scoop makes portioning out the bites quick and easy.
Serving Suggestions
Looking to elevate your serving game? Here are a few ideas:
- Platter Presentation: Arrange the bites on a colorful platter and top with a variety of garnishes for a stunning display.
- Pair with Fruits: Serve alongside fresh fruits like strawberries or bananas for a balanced snack.
- Dip Options: Provide melted dark chocolate or yogurt for dipping to enhance the experience.
- Make It a Gift: Pack them in a jar with a cute ribbon and give them as a healthy gift for friends and family.
With these amazing No-Bake Brownie Bites, you’re not just making a snack; you’re creating memories filled with deliciousness and joy. So roll up your sleeves, gather your ingredients, and let’s make healthy eating an exciting adventure! Thank you for joining me in this culinary journey—now go forth and enjoy your delightful creations!
No-Bake Brownie Bites
Ingredients
Optional Nuts
- 2½ cups pitted Medjool dates
- 1 cup unsweetened cocoa powder
- 1 cup old-fashioned rolled oats
- 1 tsp vanilla extract
- ⅛ tsp salt
- 2 tbsp milk (dairy or non-dairy)
Toppings (optional)
- shredded coconut, cocoa powder, chopped nuts (for rolling)
Instructions
- Soften dates if dry, then blend with oats, cocoa, salt, and vanilla until combined.
- Add milk gradually to form a sticky dough.
- Roll mixture into small balls and coat with toppings if desired.
- Chill in the fridge for 10-15 minutes before serving.